

Choose a booking system that supports your appointment rules, connect the relevant calendar, and add a booking link or supported embed to your website. Configure availability, time zones, buffers, and confirmation messages. Then test the whole journey, including rescheduling and cancellations, before inviting customers to use it.
Calendly's official embed guide describes inline and pop-up options. It is one example; confirm that the tool you choose supports your staff, service, resource, and payment requirements on the intended plan.
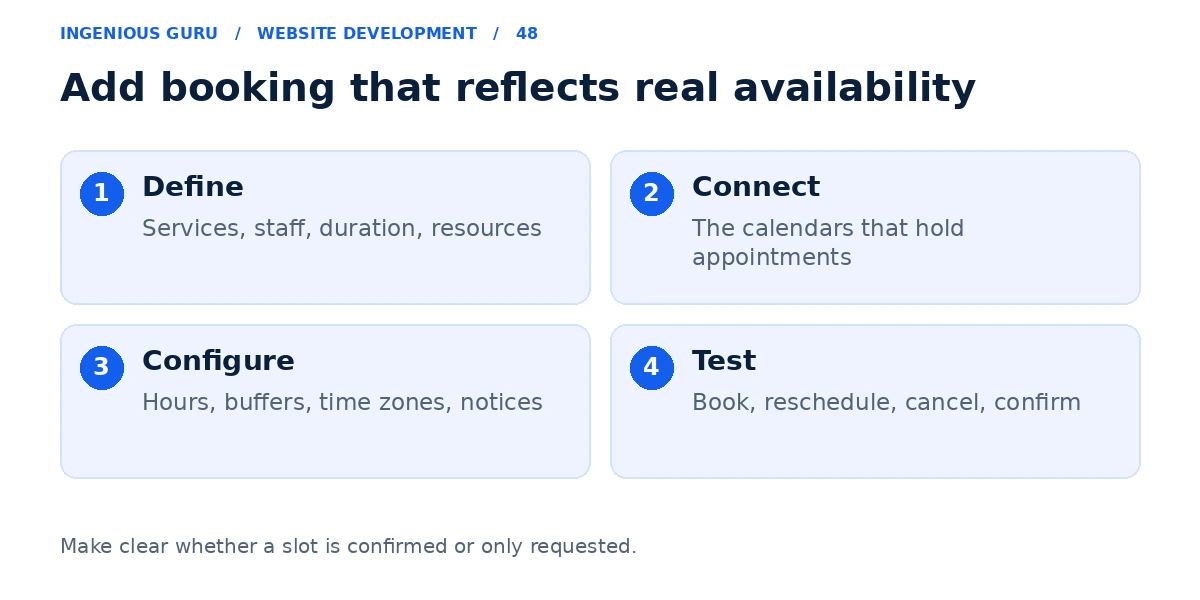
Define the appointments the business actually offers
Record the service types, duration, staff, locations, opening hours, preparation time, and any shared resources. A single consultant's call is simpler than appointments that require both a staff member and a room or piece of equipment.
Decide whether customers are reserving a confirmed slot or requesting a time that staff must approve. The website should explain that distinction clearly.
Choose the tool around the booking rules
For a simple meeting, a scheduling link may be enough. A multi-staff service business may need a more specialized booking plugin or platform. Check calendar connections, resource handling, notifications, exports, and the required subscription.
If you already use a platform, verify its supported booking options before adding another system. Keeping one reliable appointment record is usually easier than maintaining separate calendars that do not synchronize.
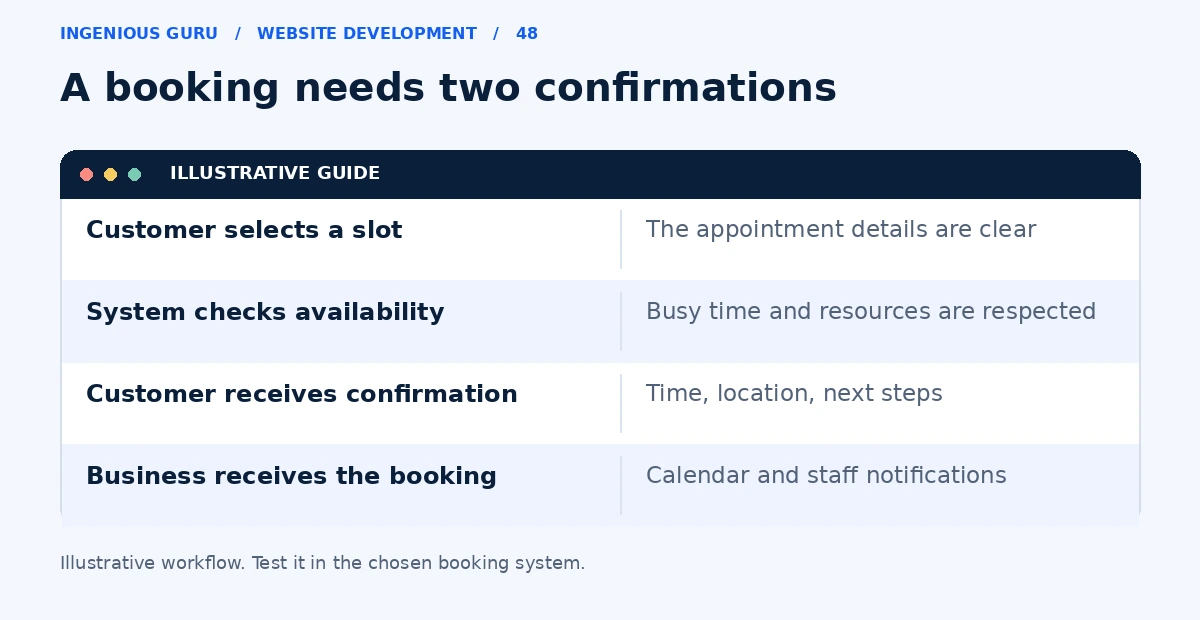
Place the booking action where it is useful
Add a clear button on relevant service pages and a booking page that explains the appointment. An inline widget keeps the calendar in the page; a supported pop-up or direct link can be simpler where the layout is crowded.
State the duration, location or meeting format, necessary preparation, and relevant price information. Give customers an alternative contact method if the widget does not load.
Configure availability and notifications
Set the correct business time zone, working hours, minimum notice, buffers, and conflict checks. Connect the calendars that hold actual appointments. Confirm who receives notifications and how changes reach the team.
Request only the information needed for the appointment. Keep the booking form understandable, explain how the information is used, and check whether reminders or payment options require an additional plan.
Test the booking from start to finish
Book a test appointment on a phone. Check the customer confirmation, staff calendar, busy-time blocking, cancellation, and rescheduling. Test different time zones if you serve customers remotely.
Read the mobile-friendly website guide for widget checks and the conversion guide for the surrounding service page.
Checks before opening online booking
- The appointment types and resources match the business
- Real calendars and conflict rules are connected
- Time zones, buffers, and notice periods are correct
- Customers and staff receive the right confirmations
- Mobile booking, rescheduling, and cancellation have been tested
A practical first step: Configure one real appointment type and test it from a customer's phone through to the staff calendar before adding more services.
Ingenious Guru's website team can help assess the booking options and website integration your business needs. Share your current platform and appointment rules.